
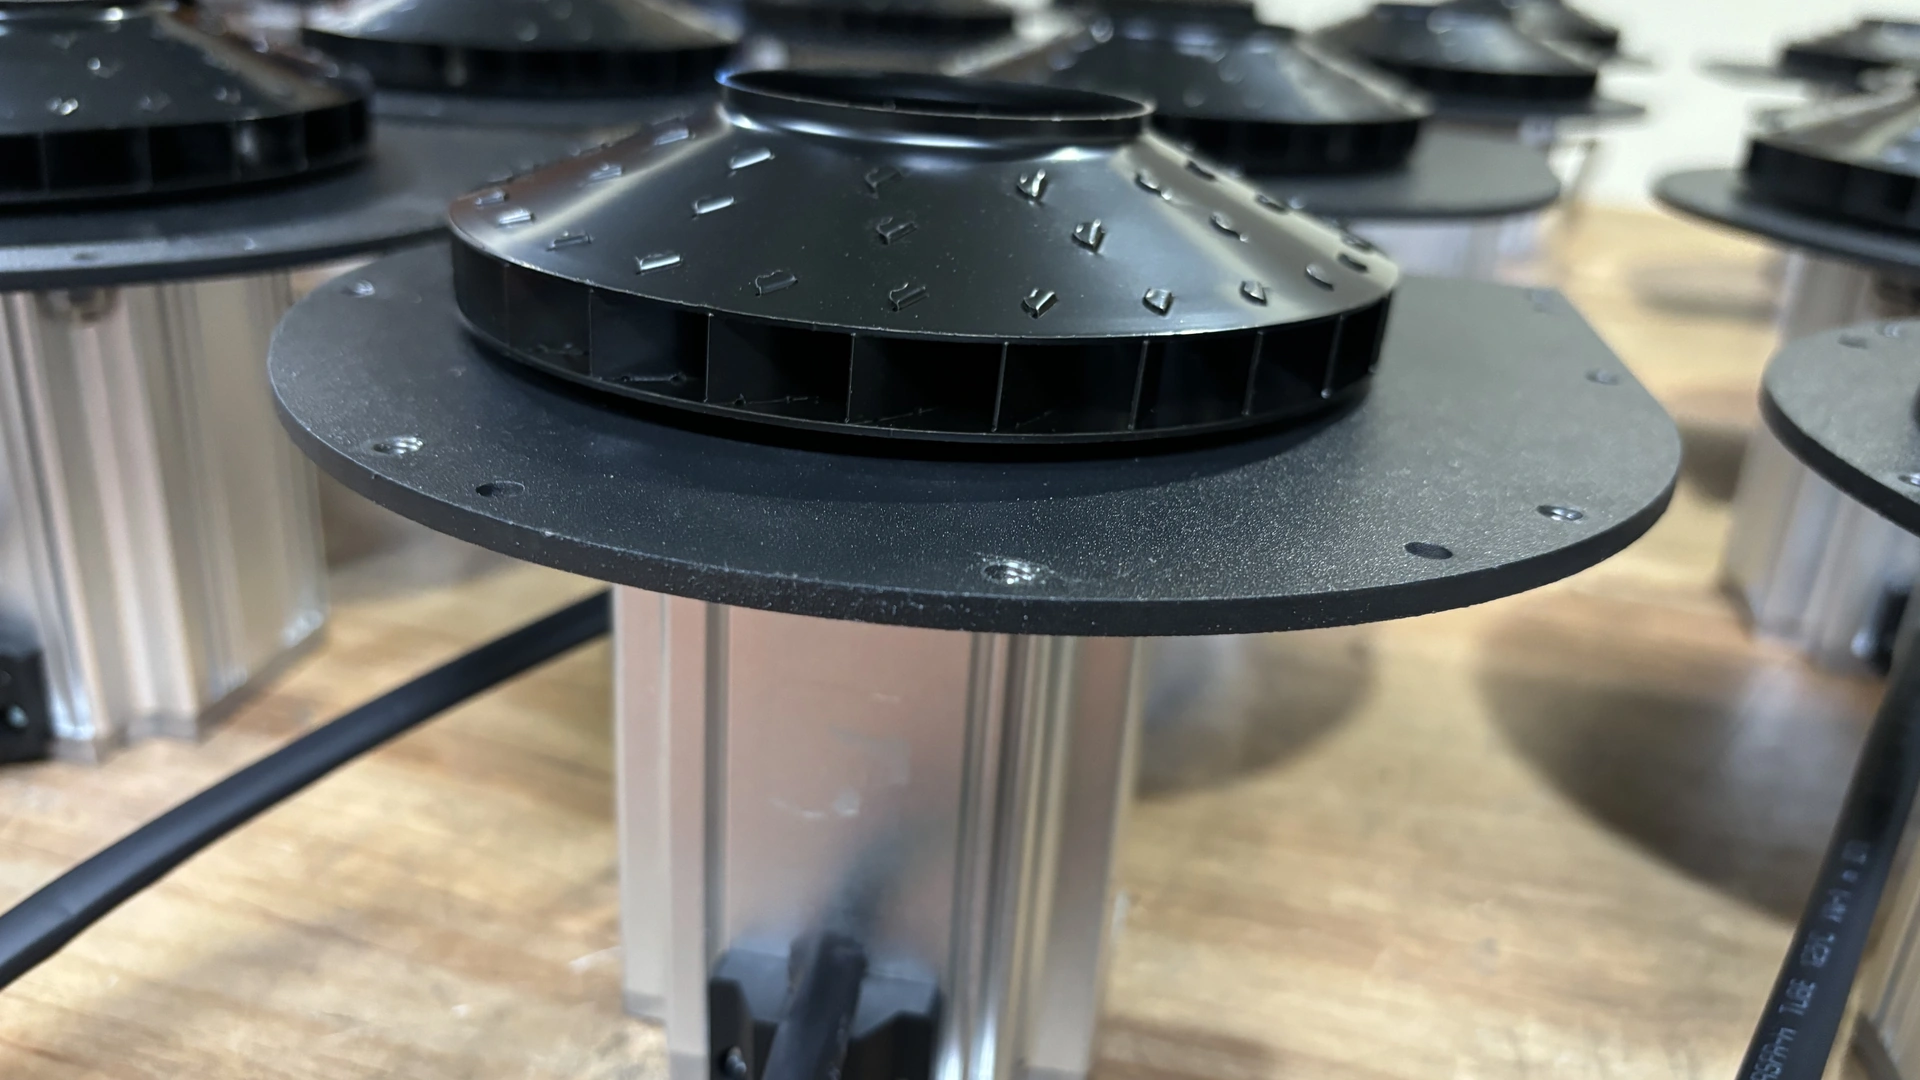
The cause may be outside the blower: high inlet temperature, blocked cooling air, a loaded filter, unsuitable enclosure ventilation or an electrical supply problem. Preserve the evidence and check these conditions before dismantling equipment.
Quick Answer
Record the alarm, temperature location, ambient temperature, speed command, current, real power, airflow and pressure. Inspect inlet and cooling passages, service clearance, hot-air recirculation, filters, valves and pipe restrictions. Verify voltage and phase balance, then compare the operating point and readings with the exact model manual.
Stop the blower for smoke, burning smell, repeated thermal trips, severe vibration, abnormal noise, rapidly rising temperature or any reading beyond a mandatory limit. Do not bypass thermal or overload protection.
Measure Temperature Correctly
“Too hot to touch” is not a reliable engineering limit. Surface temperature, internal sensor temperature, discharge-air temperature and ambient temperature are different measurements.
Use the method and location specified by the manufacturer. Record the instrument, emissivity setting for infrared measurement, distance, time after startup and operating condition. Shiny surfaces can produce misleading infrared readings.
Compare like with like. A discharge-air reading should not be compared with a housing limit, and a hot peak-duty result should not be compared with an idle baseline.
Preserve the Operating Evidence
Before resetting an alarm, note its code and time. Record blower model and serial number, production mode, speed command, inlet and discharge pressure, airflow if available, phase currents, real power, ambient temperature and filter condition.
Document recent changes: a new enclosure, moved exhaust duct, filter replacement, valve adjustment, controller programming or higher line speed. These details frequently identify the cause.
Follow lockout/tagout before opening guards, touching wiring or removing filters. Qualified personnel should perform electrical checks.
1. Ambient Temperature Is Too High
A blower installed near ovens, roofs, process exhaust or an unventilated room may breathe hotter air than the general factory temperature. Hot inlet air reduces cooling margin and changes air density.
Measure at the blower inlet during the hottest production period. Review seasonal peaks, not only the commissioning day. If the unit sits inside a cabinet, measure inside the cabinet with doors in their normal state.
Relocation, ducted cool air or enclosure ventilation may be required, subject to the final manual and contamination risk.
2. Hot Air Is Recirculating
Discharge air or enclosure exhaust can return directly to the inlet. The blower then repeatedly processes heated air and local temperature continues to rise.
Inspect the direction of discharge, nearby walls, guards and ventilation fans. Use safe smoke visualization or temperature mapping where approved. Separate inlet and exhaust paths rather than relying only on more fan capacity.
Do not route contaminated process air toward the blower inlet.
3. Cooling Clearance Is Blocked
Stored parts, acoustic material, cable bundles or an adjacent machine can obstruct cooling openings. Dust may coat cooling surfaces.
Restore the clearance in the final installation drawing and manual. Clean external surfaces using the approved method with the blower isolated. Make sure service panels and filters can be removed without dismantling unrelated equipment.
A compact installation that meets dimensional fit but lacks cooling and service space is not complete.
4. The Inlet Filter Is Restricted
A loaded filter reduces inlet airflow and can change operating and cooling conditions. Inspect for dust, oil, moisture, collapse or an incorrectly sized element.
Set filter inspection and service intervals from the selected model manual, measured differential pressure, operating hours and site contamination; do not assume a universal calendar interval.
Never remove required filtration as a permanent cooling solution.
5. The Air Path Has Changed
A closed valve, blocked silencer, kinked hose, contaminated air knife or altered branch changes system resistance. An opened branch or enlarged slot may increase flow demand. Either change can move the blower to a different operating point.
Measure airflow and pressure together and compare them with the commissioning baseline. Check valve and bypass positions and inspect the route section by section.
Do not assume that more pressure or more flow always causes more heat. The response depends on blower design and its curve.
6. Speed or Control Settings Are Incorrect
A recipe may command more output than the process needs. Analogue scaling, pressure setpoint, ramp or controller motor data may have changed.
Confirm the selected model’s electrical supply, controller interface and usable operating range from its current nameplate and manual; validate each production setting on the installed system.
Reduce output only through an approved test while monitoring process quality, current, pressure and temperature. Do not use a lower setting to conceal an internal fault.
7. Voltage or Phase Conditions Are Abnormal
Incorrect voltage, imbalance, a missing phase, loose terminal or damaged contactor can create electrical heating. Measure supply under load and compare phase readings where applicable.
Confirm the selected model’s current specification, pressure-flow curve, electrical nameplate and installation requirements before assigning an operating point.
Discolored terminals, damaged insulation or repeated electrical alarms require qualified repair before restart.
8. Current Is Too High
High current can increase motor and controller heat. Verify the reading and compare it with nameplate, manual and commissioned values.
Use the installed unit’s nameplate and current model manual for current limits, electrical protection and wiring; do not substitute figures from another model or supply version.
Do not increase overload settings to avoid trips. Diagnose supply, settings, operating point and mechanical condition.
Frequently Asked Questions
Repeated starting can add thermal load, especially when there is insufficient cooling time. Review start frequency, cycle time and acceleration settings.
Where the process varies rapidly, approved speed modulation may be more appropriate than repeated stopping and starting. Confirm minimum speed, ramp and cooling requirements with the controls engineer and manufacturer.
Log starts and thermal alarms so the pattern can be compared with production events.